Adding an image:
1. Click the Image button from the Add Image section under the Insert tab.

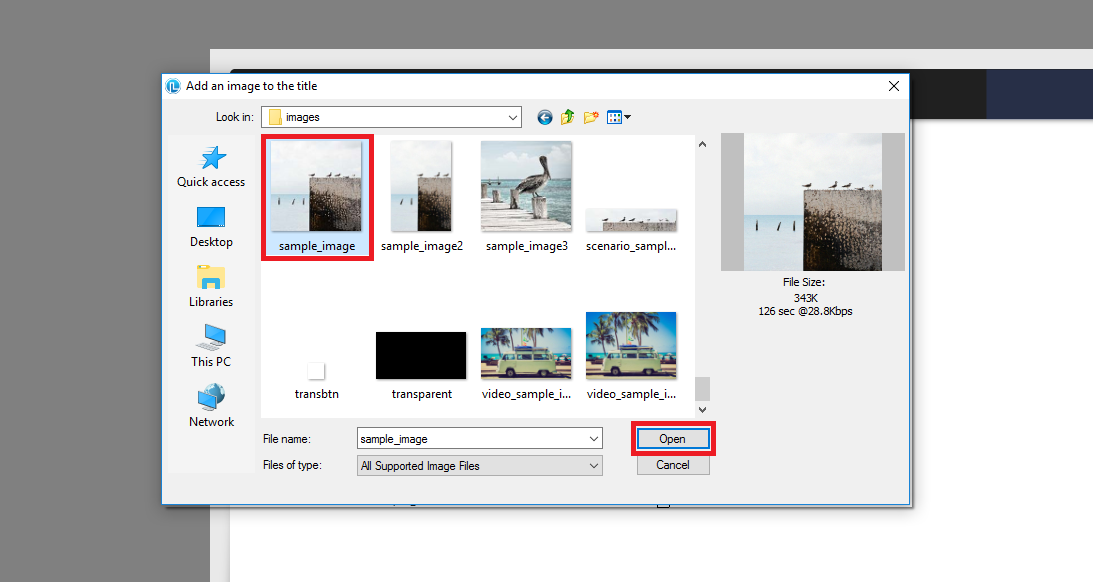
2. A window will apear. Navigate to the folder that contains your image. Select the image and click Open.
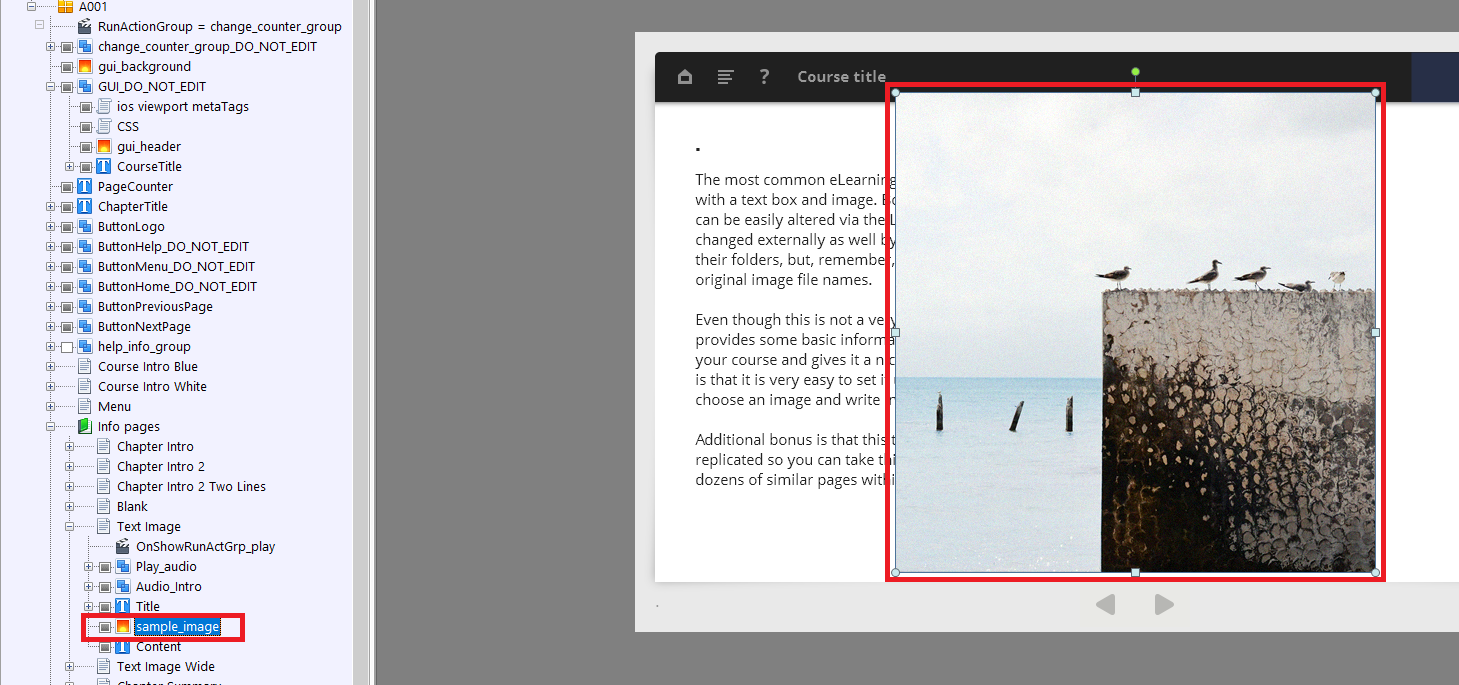
3. The image will apear on the page that you were viewing and also in the Title Explorer on the left side of the screen.
Changing an Image:
1. Change the image by selecting it in the Title Explorer on the left side of the screen and then going into the Properties tab then clicking on the Image dropdown and selecting “Browse for File…”.

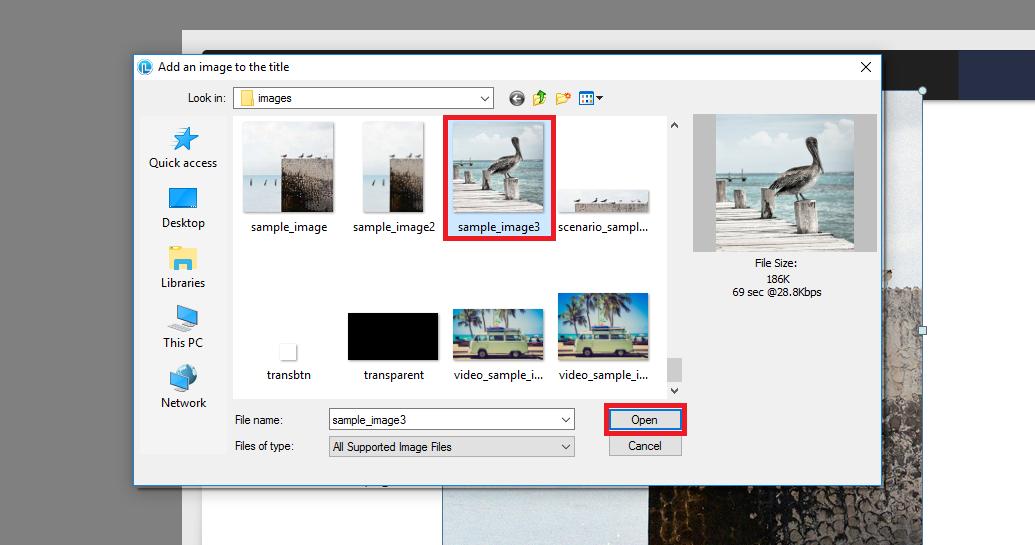
2. This will open up the same window that we used to insert the first image. Inside the window select the replacement image and click open.
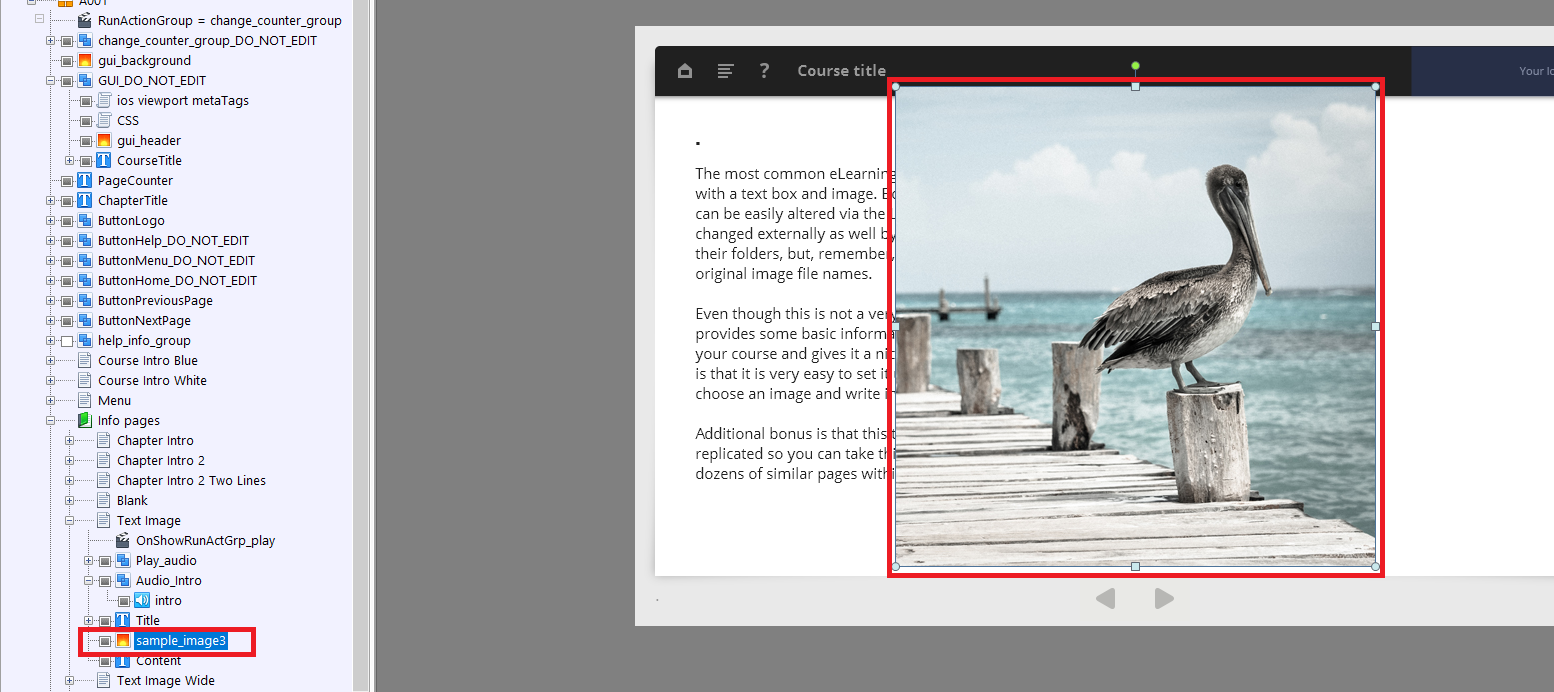
3. Clicking open will replace the original image with the one you selected as it’s replacement.
Explore all Lectora templates
Get our templates and start learning by doing! Get access to hundreds of interactions built in Lectora that you can use in your courses or use them as a learning material! Explore hundreds of course starters, games, click & reveal, info pages and other test templates. Click the button below and see all of our Lectora templates!

Comments