I believe that many of us enter the e-learning world unexpectedly, without ever considering it as a career. Quite often, we are asked to take on creating a course because we are experts in our field, or maybe because we’re just ‘good at collecting info and writing texts and stuff’. Or maybe since childhood, we have had this urge to explore new stuff and, well, learning technologies are frankly quite exciting :).
No matter how creating an eLearning course ended up on your to-do list – if you are new to this, it’s very likely that you feel concerned and confused.
There’s so much that goes into producing e-learning, starting from technical aspects and ending with creating content. However, once you break it down into segments, you may find that your ‘mission impossible’ is much easier to achieve than you thought.
WHERE DO I EVEN BEGIN?
A good place to start is to think about needs. First, consider the needs of the people who’ve asked you to create the eLearning course. This should be done to make sure that a course is actually necessary to achieve their goal. Sometimes it’s best not to create a course at all. Sometimes all you need is to put a poster on the wall, or make some changes in internal procedure to make the process more intuitive, rather than to drag people into mandatory training.
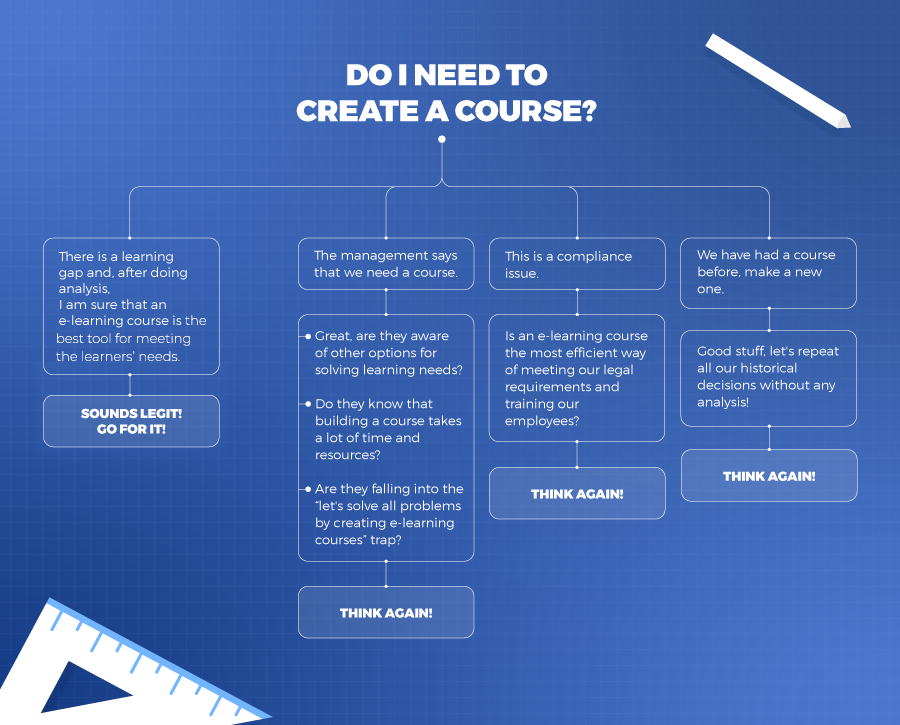
So, if you actually believe that you need to create a course, the first thing to consider is the goal of the course.
Ask yourself – what do you want to achieve? Be as specific as you can. For example, improving support ticket answering time by 7%, increasing customer satisfaction indicators by 10%, complying with legal obligations, making sure that 100% of all employees take and pass AML/GDPR/Food Hygiene or some other mandatory training your organization might have. If it’s not clear what the actual goal is, you should definitely work towards narrowing it down before you go any further.
Then you can move on to the needs of the learners. Think about who they are in terms of age, background, proficiency etc. as well as how they will access the eLearning. For example, whether or not they’ll want to access the training from their mobile devices, will they be able to hear audio (bandwidth, headphones etc). This knowledge will play an important role both in selecting the right technology and producing appropriate and engaging content.
WHAT YOU NEED TO KNOW ABOUT CONTENT CREATION AND DELIVERY
The first thing beginners usually mix up is content and platform. A platform is also called Learning Management System (LMS), Learning Experience Platform (LXP) and other names.
A learning platform ensures user logon/authorization, tracking, assignment of learning activities or allows users to choose the learning path themselves. LMS allows all user management to be done. There are many LMSs that also include some content creation capabilities. Some of them are OK, but we advise you to consider whether they really are the best tools for this task. As in the old saying, if something is designed to work for everything, it usually is not truly exceptional at anything.
So, our suggestion is to use LMS for user management and tracking and create content in an environment specifically built for this purpose.
I will explain what I mean by that in just a second.
How to choose an LMS
Before we move on to content creation, here are 7 factors to consider if you need to select an LMS. There is a whole science behind it, but these, in our opinion, are the most essential:
- Usability – You definitely don’t want an LMS that’s complicated and confusing, as this will have a negative impact on the learning experience.
- Accessibility – Think about the devices and browsers that your learners will use and make sure that the LMS supports their needs.
- Support – If the LMS is hosted by the provider, they ensure user support as well as saving and backing up data. If the LMS needs to be hosted by you, you need to be able to provide sufficient infrastructure and support internally.
- Compliance – It’s essential to select an LMS that is compliant with the type of content objects that you want it to host (for example, SCORM).
- Reporting – You need to consider what information you want to receive in terms of learner progress and performance. Make sure that the reporting that the LMS provides is sufficient for your needs.
- Features – There is a variety of features that you may (or may not) need for your eLearning, such as integration of other systems, social features, visual customization and so on.
- Pricing – Of course, affordability is also always a factor. Don’t rush into a decision before doing proper research and evaluating several options.
HOW TO CREATE E-LEARNING CONTENT?
Ok, we have now covered what an LMS (platform) is and how to select it if you need to, and, to be honest, in 9 cases out of 10, your organization already will have an LMS (platform), be it Moodle or any other, so you can manage users, and see their progress. But wait – what about the learning content? We also need to populate the LMS with actual learning content, right? Buckle up, we will cover the content creation options next.
The first thing people usually do when they have just had their LMS installed, is upload internal documents like internal procedures, guides etc, usually in PDF or Powerpoint formats.
However, let’s be honest – not many people will jump in excitement and cancel their date night to read a 50 page PDF about AML. This is where you guys come in, and say “Hold my beer, legal department with your PDFs and compliance documents! I will create something more meaningful, solving business learning needs without boring our learners to death.”

So, we have understood that nobody, and I really mean nobody, looks at Powerpoint presentations and PDFs on LMS, unless they absolutely have to.
And even if they do, usually they don’t get at least 50% of the content, as the presentations were meant for instructor led training, and without an instructor present, half of the content is not clear as there is no one who can provide context. Once we have passed this phase, we usually remember that somebody was telling us about a cool interactive course their organization had. So, we start to wonder how to create something more engaging and interactive. And then we are ready for some fun :).
Historically, the majority of the content was created by custom development, either in Adobe Flash, Javascript, or any other programming environment.
This allowed flexibility in terms of what needs to be built and how it should work. E-learning developers had all the control and could create amazing courses. The only downside was, you had to be a programmer to do it, meaning you needed to know how to code.

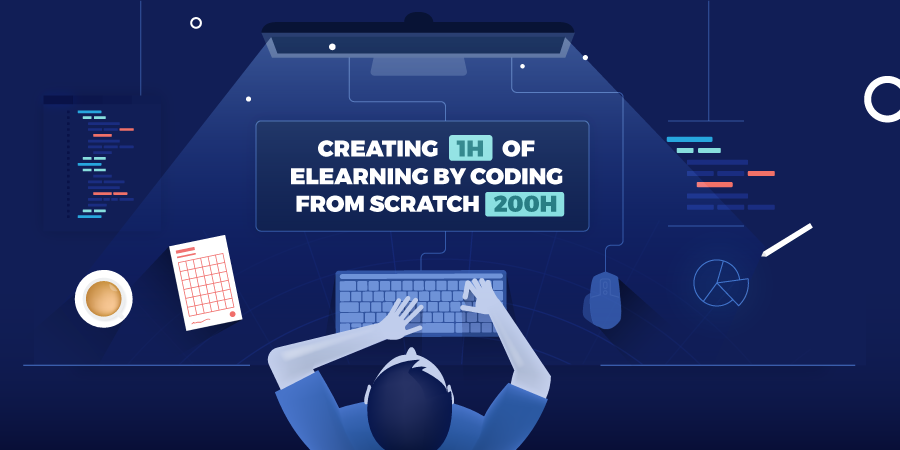
Another side effect was that e-learning development took forever and, even now, if you want to create e-learning from scratch you need to plan for many many developer hours in the budget, which frankly is not what everyone can afford.
Our guesstimate is that 1h of e-learning content created from scratch, by custom development in Javascript or Adapt (10 years ago we would put Flash here) will take around 200h of development time.
The rise of the authoring tools
So, the question was how to develop e-learning more affordably, faster and allow non-technical developers to participate in the process? Welcome to the world of authoring tools.
The most popular authoring tools are – Articulate Storyline, Adobe Captivate and Lectora. You can also take a look at iSpring, DominKnow, Evolve, Gomo, Knowbly and others.
Authoring tools come in all sizes and shapes, but, to narrow them down and put them in some common box, and trust me I am not trying to come up with a scientific definition here, Authoring tools allow non-technical developers to create interactive e-learning, with tests, click and reveals, games, drag and drops, video pages and other interactive pages that facilitate the learning process, and they also allow the e-learning course to be published in SCORM or xAPI (Tin Can) format.
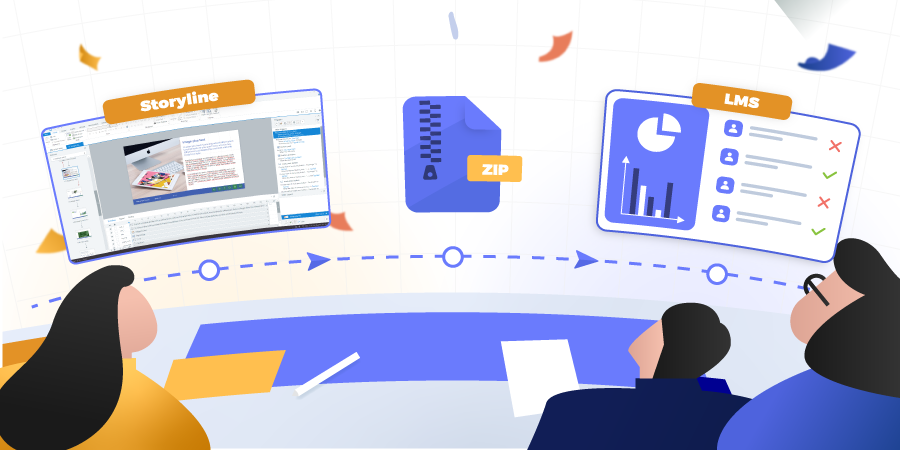
A course that has been published in Scorm (or xAPI) can be uploaded to LMS, and your boss can see who has finished the training, when have they done it, how much time they have spent learning, and what was the result of the test, etc. xAPI allows lots and lots of variables to be tracked, but that calls for another blog post, so I will not go into details now.
What you need to know is that Authoring tools allow you, a non-technical developer, who does not know how to code, create amazing, fully functional and interactive e-learning courses. And, in addition, you will be able to publish these courses in SCORM or xAPI format and track your learners’ progress. Wow, let’s take a pause here!
That is quite powerful, and that has been the core of e-learning technologies for the last 10 or 15 years. It is changing now, with new more flexible approaches, but it is still very much true.
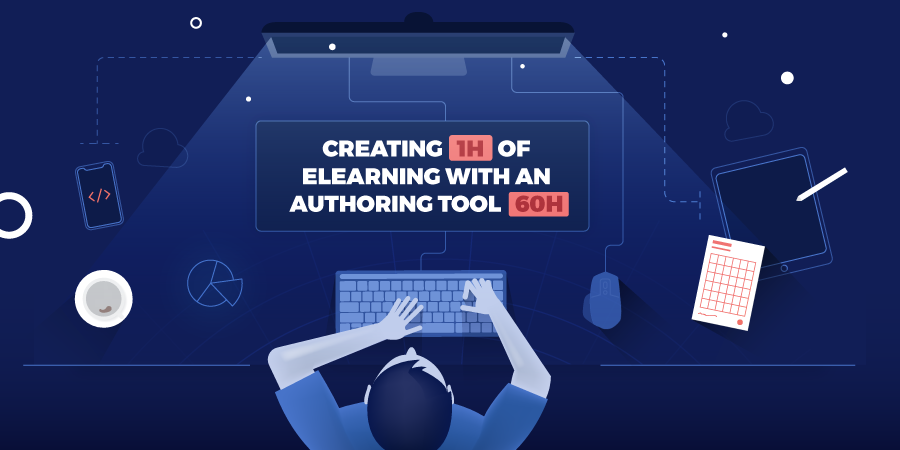
So, Authoring tools allow you to create interactive content faster, and you don’t have to be a programmer. Our guesstimate is that 1h of e-learning content created by authoring tools will take around 60h of development time.
Responsive elearning
Before we go further I wanted to clarify one more thing regarding e-learning content – Responsive courses. What the heck is that? Well, it’s quite easy actually. Historically, I mean 10-15 years ago, when we were developing e-learning content for usage on computers only, everything was very simple. Nowadays we have computers, but we also have tablets and phones, and many learners and organizations demand e-learning to work perfectly not only on desktop computers, but also tablets and phones. Which sounds great, but it also means more work for you, as you need to make sure the courses work great on those devices. Basically, any course will show on a desktop, tablet and mobile phone, the difference is, will it be Responsive or not.
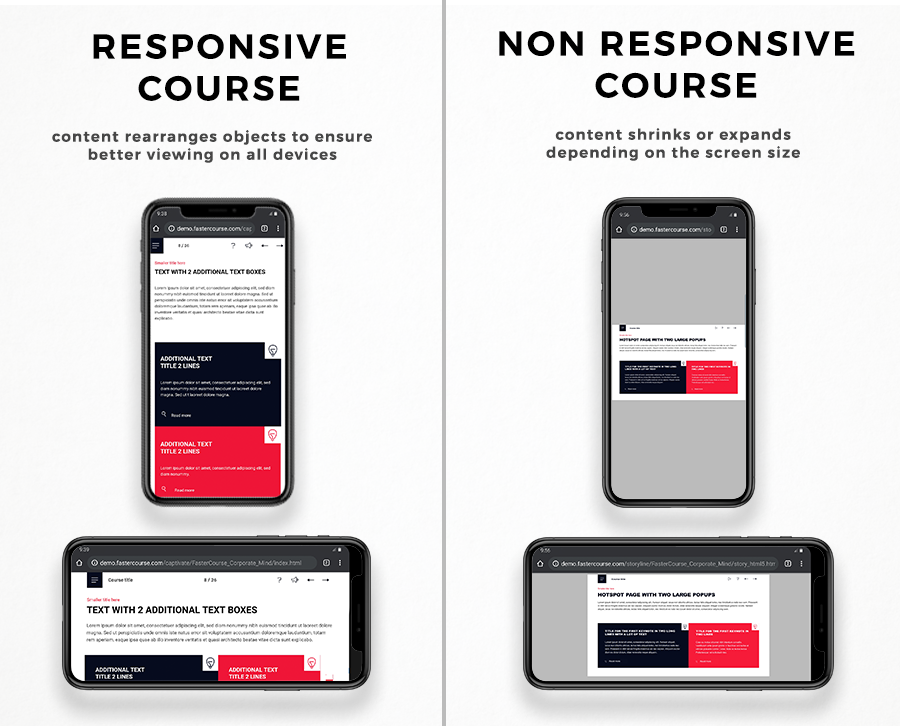
So as you can see Non Responsive courses sometimes look not that great on mobile phones. Everyting is there, but sometimes it is a bit difficult to read.

Responsive authoring tools
Articulate Rise is probably the most widely used Responsive authoring tool, developed by Articulate to give Articulate Storyline users and Articulate clients in general a quick way to produce good looking simple responsive courses. Adobe answered with the Adobe Captivate New version. Sounds great right? The only problem is that these are not really proper authoring tools, but more like Google forms, where you select options you like from predesigned and preprogrammed options. So basically no options for customizing unless you call changing colors customizing. You want more answer options or a different type of drag and drop, you cannot get it. Want several layers in your page, you cannot. Unless you import good old Storyline files. Articulate Rise allows Articulate Storyline object import. That allows Rise courses to be modified a bit more, and creates some kind of hybrid solution. Regarding New Adobe Captivate and previous version Adobe Captivate 2019 also known as Captivate Classic, you cannot really compare those products, Captivate 2019 is a powerful tool, a bit buggy sometimes, and takes a lot of computer resources, but gives you lots of options. New Captivate is extremely limited, you can choose from the options Adobe thought you will need, and if you want something else you cannot get it.
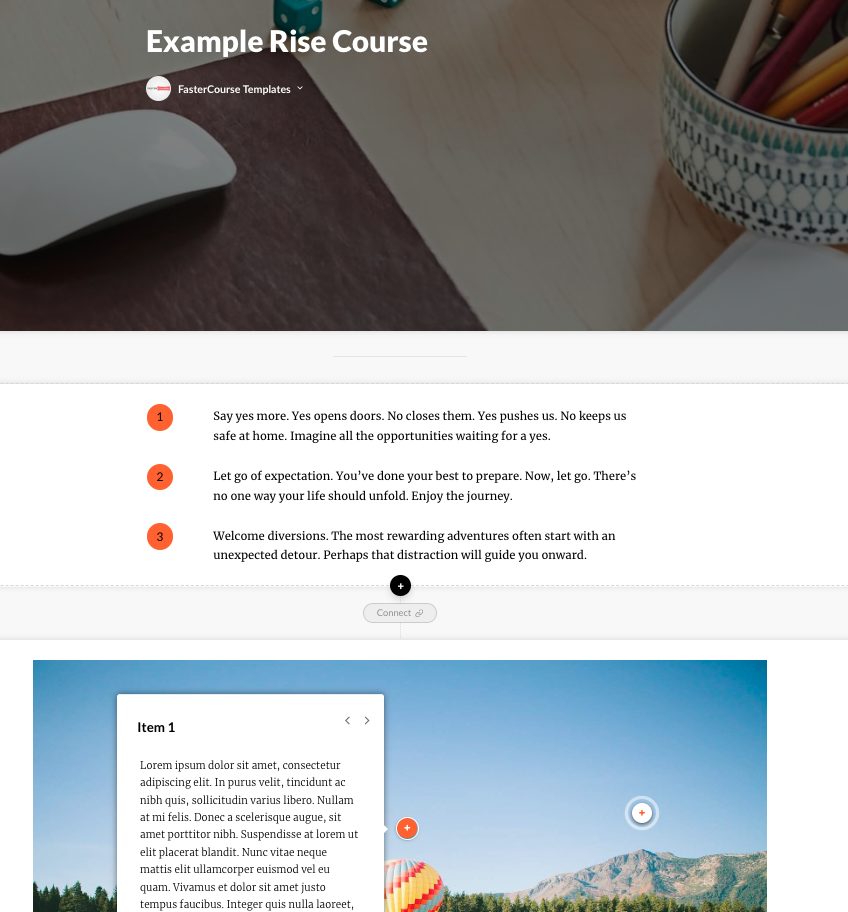
Going back to Articulate Rise, it is a great product, the problem with it is, you can learn to use it in 1-2h, because it is SO BASIC. There are 2 problems with it, first it is a bit weird to charge clients for using a simple google form type product, and second all Rise courses look the same. If you need to develop something really fast and it is a really basic single course – great, go with Rise. If you want to product 10, 20 or even 50 courses, please don’t use Rise, as they all will look the same. They will look ok, but the same. Here is an example.
And of course there are no external templates available for Articulate Rise or Adobe Captivate New.
Elearning templates
Returning to our discussion on how to build e-learning, building from scratch sounded fun, if you are a techie, using authoring tools, much easier, but still quite a lot of effort.
“OK 60h for 1h of e-learning content is still quite a lot, and btw my boss asked me to roll out 35 courses in the next 3-6 months, and I am a learning & development department of one, and they want me to switch to this new tool, for which they bought a license a year ago, and I have no clue how it works.”
Sounds familiar? Well, you are not the only one, we encounter these situations almost every day. What if you could build e-learning 3 times faster? And your entry to the new tool would be made easier by having preprogrammed pages that you could use, and just adjust texts, audio and video materials to your needs?
E-learning templates – allow much much faster course development, and can be a source of inspiration and learning if you are struggling with developing everything on your own.
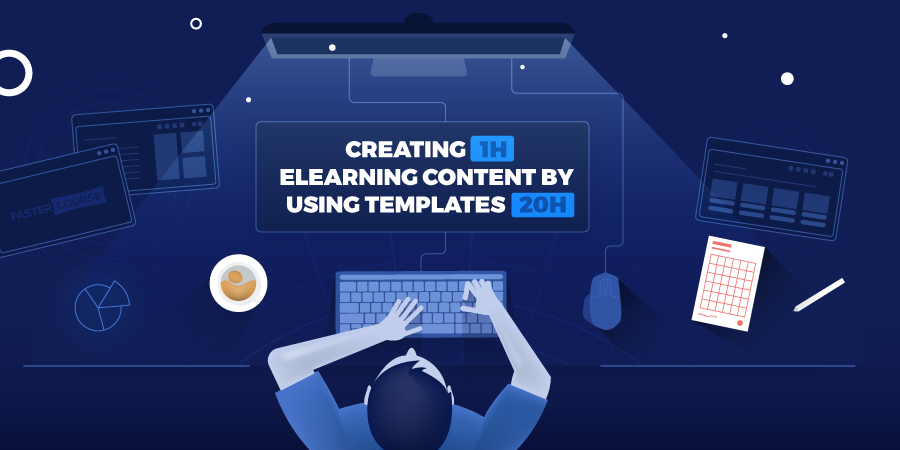
Our experience shows that using e-learning templates is the fastest and cheapest way of building e-learning content. PERIOD.
E-learning templates are predesigned and preprogrammed pages that you can use to build your course faster, usually you just need to copy / paste texts, add audio and video materials, if you have any, delete the parts you don’t need, adjust color scheme, change logo and you are good to go.
Layers, triggers and actions have all been done for you, design has been created by a professional designer. Sounds too good to be true? Well, it is pretty good. If you have a simple course to build, or a series of simple courses, definitely consider using a template.
If you want to get a better idea of what templates look like, you can check out our library here.
The downside to using templates is – you don’t get to build from scratch, which creates some limitations to what you can do, without extensive manual rebuild of the course.
Sometimes this is good, as it limits your SMEs (Subject Matter Expert – SME) – if they need to work inside the template framework, it really speeds up the storyboard development. But, on the other hand, sometimes you want that creativity going wild, and then templates will not be your best option.
TIME FOR SOME INSTRUCTIONAL DESIGN
Once you know how your eLearning course will be produced and where it will be hosted, it’s time to start working on content.
First, you need to collect information – depending on the situation, you may receive a document or PowerPoint presentation with information that you need to use as a starting point. Alternatively, you may have to interview subject matter experts (SMEs) or do some additional research on the topic.
Whatever the source of information, it’s likely that you’ll end up with a lot of text and little understanding of what to do with it.
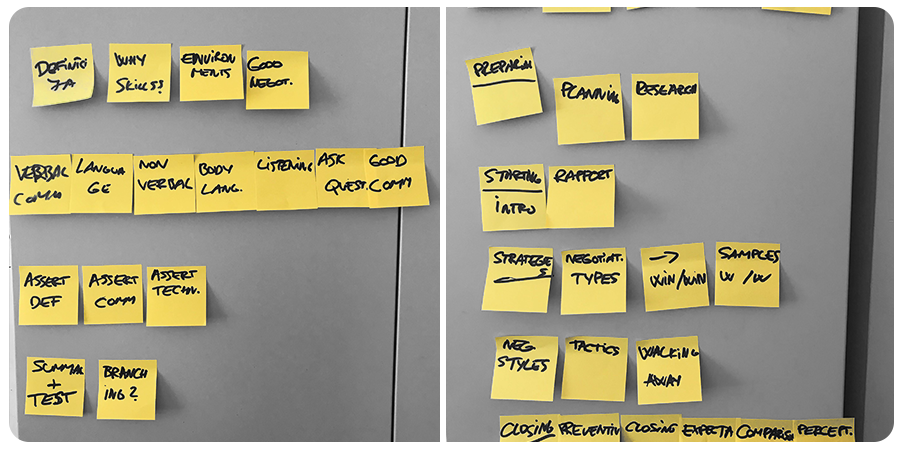
However, at this point, you’ll probably have a general idea of the content that needs to be included, so the next step usually is to put together a simple structure of the course – this will give you a vague idea of what the flow of the training might be. We suggest using post-it notes, and writing a page title on each of the paper notes and sticking them to the wall. This allows for easy rearrangement of pages if you at some point will understand that the course flow needs adjustments. In our experience every course needs some kind of adjustments, so this is just a really easy way of visualizing the course structure and flow, and the adjustments can be done instantly.
Once you’ve done that, you can move on to adding bits and pieces of info to each of the topics. It doesn’t have to be elegant at this point, so try not to overthink too much and just do.
As you go through this sorting phase, you’ll already see some things that don’t fit in or seem to be missing. You can then start refining the text – editing, adjusting language (again, think about who you’re talking to) and so on.
Finally, you can start building a storyboard. This is a document (.docx, .ppt, .xlsx or any other format that you prefer) that contains not only page titles and text but also information about layouts, images, interactivity, navigation and any other details that need to be addressed before production. Click below to get a free e-learning storyboard!
Instructional design is a wonderful, yet challenging discipline, but there’s plenty of resources that provide useful tips on this subject. We have also shared some insights on instructional design issues in the FasterCourse blog.
WELCOME AND GOOD LUCK!
Whatever your journey in the eLearning world has been so far, we just wanted to let you know that it’s a great place to be!
We hope that this brief (sort of) overview has been useful and will inspire you to explore the various tools and resources that can help you produce wonderful eLearning. If you have any questions drop me a line: karlis@fastercourse.com and if you liked the article please share it on social media by clicking the buttons below.
Thanks for a succinct explanation!
This is a wonderful insight. Simple and precise, just what I was looking for to understand.
Thanks Martin, appreciate your response. Your comment gave us an idea to maybe update and expand this, but overall this is still very relevant info 🙂
Awesome! Thanks for sharing. Every time I read this, new insights are triggered.