The first steps in the elearning world are usually full of enthusiasm and positive energy until you reach the point where you have no idea where to begin. Creating elearning content is the most fun part of all the process, but you have to be prepared before you get to that point.
We want to guide you through the elearning content creation process step-by-step, so we created a small guide to help you better understand multiple factors that are closely connected to elearning content creation. As we have been working in this field for quite some time, we know how important it is to follow each step before you even get to content creation.
We will try to explain why it’s important to set specific goals for your elearning course and how you can better understand the audience who will be learning from your course. Then we will show you three ways how you can create elearning content.
This is part of our webinar “Elearning development 101” and you can learn more about the elearning content creation process in this video.
Goals of the elearning course
First, you need to understand the aim of the elearning course. Try to think about what you want to achieve with this elearning course, what learners will gain after completing the course and what changes that could bring to your or your client’s organization.
When thinking of aims of the course, try to be as specific as possible. For example, use data that can be measured. This way you will be able to tell if the elearning course was successful and it will be easier for you to explain management the results of the elearning course.
Example of good elearning goal
We had a client which is a big mobile gaming company with around 100 billion users worldwide. They usually have around thousands of support tickets daily. One of the most typical support ticket the company received daily was about logged-out users who need to log back into the system. If for some reason the user couldn’t log back into there account, the support team would need to verify if it’s the real user and not a fraud.
The aim of the course was to train the support employees to better distinguish real users from fake ones. Before we created the elearning content, we talked with the client about the problem that they wanted to solve and we defined that the aim of this training will be to decrease the time employee spend on one support ticket by 7% and improve the user satisfaction by 5% after a support ticket has been answered.
This way the company will be able to see if the elearning course had a positive effect and if the new training course helped their employees understand the process better.
Why is it good to have measurable goals?
Here are only a few examples of why it’s good to set goals for your elearning that can later be measured –
- You will be able to tell if you have achieved the aim of the elearning course or not;
- You will be able to tell if the elearning course helped you solve the problem;
- It will be easier to present the results to the management;
- It will be easier to get permission and money from the management for other elearning courses you might want to introduce to your employees;
- If you work as a freelancer, it can help you get new clients if you can show that the elearning course you created helped organizations to reach their goals.
Audience
Another essential aspect you need to consider is the people who are going to learn from the course. What will be the audience of the online training you are going to make? It’s good to ask your client about the target audience for the course especially if you are responsible for the content. Questions that might help you get the right information from your client –
- Are the learner familiar with the topic or this is the first time they hear about it?
This way you will know whether you need to include all basic information or learners already know that. - Is this is their first elearning course or are they used to take online training?
If this is the first time your audience is taking elearning, you might want to describe what the buttons do and how they can navigate through the course. - What devices will the learners use to learn?
Do they have computers or tablets in their workplace? Maybe you need to provide a mobile version of the course as well? - Can you use informal language or better stick to formal type of content?
Usually, compliance courses are built using formal language, but for some topics, informal language works better. - What technologies can they access?
This way you can decide if the course needs audio or maybe that can be optional and users who don’t have earphones can turn the audio off. - Does any of the learners have disabilities?
Then you might need to adapt your course to screenreaders or provide an audio version for those who can’t see that well.
Try to get as much background information as possible about the audience and you will be able to make better decisions regarding the elearning content.
Responsive vs Non-responsive
This is really an important point you need to know before you start creating content. After you have asked all the questions about the audience, you might better understand whether you need to build a course that is accessible only from computers or you need to build a course that can be viewed from all mobile devices.
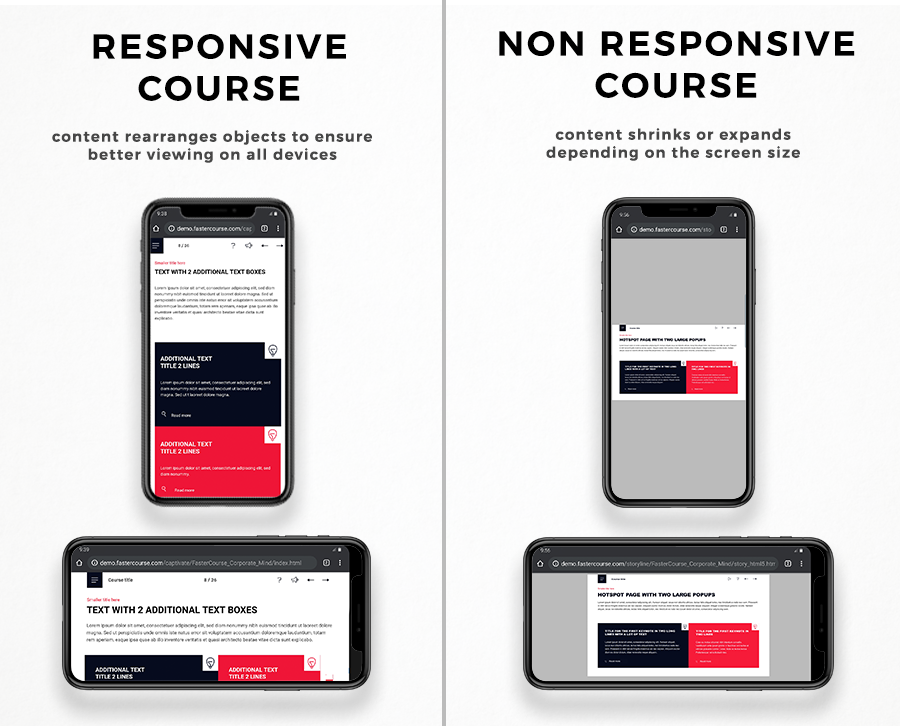
Responsive course means that learners will be able to open it on desktop, tablet, and mobile device and it will work and look as expected. Non-responsive courses can usually also be opened on mobile devices, but the content will be small and not adjusted for mobile screens. Here in the image below you can see the difference between a responsive course and non-responsive course.
Do you really need a responsive course?
Even though we spend a lot of time on our mobile devices and the trend for responsiveness is growing every year, we still ask our clients whether they really need a responsive course. Because creating a responsive course usually takes more time and resources and if only 0.5% of all company employees are using the course on their mobile devices, it might not be necessary to spend twice as much money on a responsive course.
Also think about the content you are going to provide – if it’s an elearning course about how to use a software on your work computer, then I guess the learners have computers in their workplace and they can learn from them.
Example when you should choose non-responsive course
We once had a client that created training to help employees navigate better in the software they were using at work. So the client provided screenshots of the software and wanted to add clickable elements to add some information. No need to mention that it was impossible to use the slide on a mobile screen and therefore the training was useless on a mobile device, but we still needed to create all slides responsive. So try to think about the content before you decide to create a responsive course.
Example when you should choose responsive course
Different case was when we needed to create elearning games specifically for mobile devices because it was an electricity company and they had employees all around the country that wasn’t sitting at their desks all day. So they needed online training that everyone could use on their own mobile device. That’s why we created a simple trivia game that didn’t take up much space and could be played everywhere even if you didn’t have good internet connection.
Also, use tools that are suitable for building a responsive course – maybe the tool you are used to doesn’t provide an option to create a responsive course and you might need a different tool.
Storyboard
Once you know all the answers about audience, goals, and responsiveness, you can actually start working on a storyboard for your course. There are multiple ways and techniques on how you can create a storyboard.
Sticky notes system
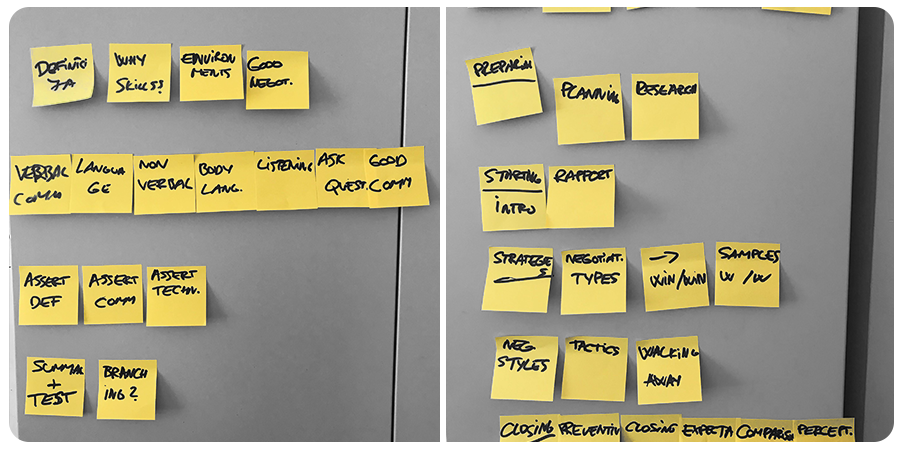
We sometimes use a sticky notes system, where we type all section names and page names that we plan to include in our course and we placed them on a whiteboard or wall. Then we can easily rearrange them until we feel like we have a complete course structure. This might help you get started as you don’t have to think about details at the beginning and you won’t end up staring a the blank page for hours thinking about what you need to do. Here you can see an example from our office –
Detailed storyboard
Then we place the content from sticky notes in a document and we start working on a detailed script of our course. A storyboard is the most important document of your elearning development process. It contains all of the information about your course and it will help the client better understand what the elearning course will look like. Place as detailed information as you can, like what icons will be used in this slide; what audio will be playing in the background; how the interaction will work, etc.
Once it’s ready you can send it to your client for review and only after that you can actually start thinking of developing the course. If you want, you can download the storyboard template that we use to build our own courses –
Creating elearning content
Now we are finally ready to explore the options on how to create elearning content. Even though this is the main part of the elearning development process, it’s really important to address all the aspects mentioned above. It will make the development process easier for you and your clients.
1. Creating elearning content with coding
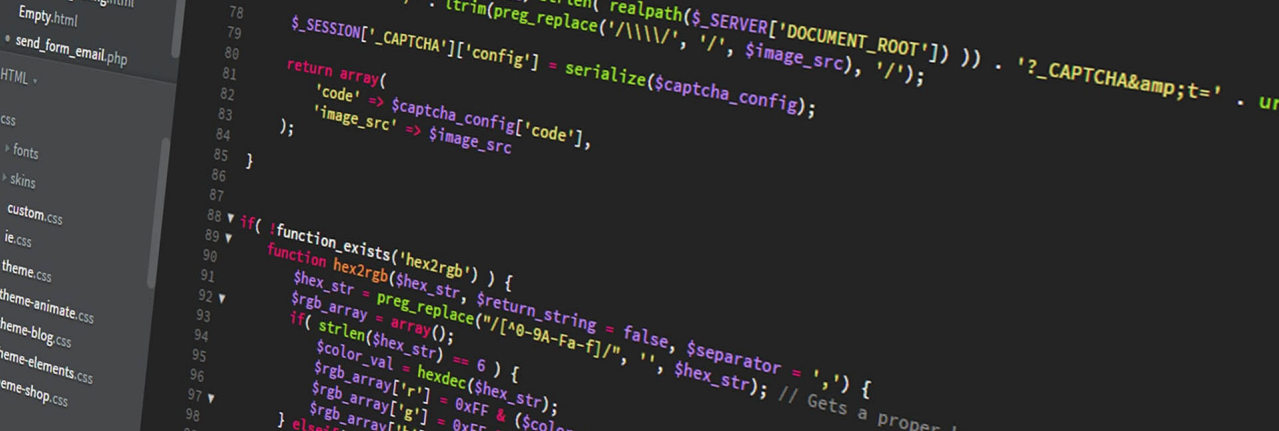
The first option is to create everything from scratch by programming. Historically a lot of courses were created this way and you can still create a course by writing code in Javascript or using frameworks like Adapt, but this takes a lot of time and knowledge. Nowadays, as the elearning market emerged, the need for programming skills slowly disappeared and now everyone can make elearning without knowing a single thing about programming. Of course, there are a lot of benefits if you are familiar with coding, because that allows you to build more complex interactions than other tools in the market may offer.
2. Creating elearning content with authoring tools
Authoring tools allow you to create elearning content without any programming skills. An elearning authoring tool is a software that allows you to create online training content, that can later be converted into an elearning format and placed on an LMS (Learning Management System) or website. This makes the process easier, but you still need to get acquainted with the tool to better understand how you can create interactions, quizzes, and games to be able to build interactive elearning content.
Popular authoring tools
There are a lot of tools that can help you build elearning content. Here are some of the most popular authoring tools that you can use –
Articulate Storyline and Rise
This is currently the market leader as it provides various tools that allow you to simply create responsive and non-responsive elearning content. They provide a lot of free resources and help, so it would be easier to get started.
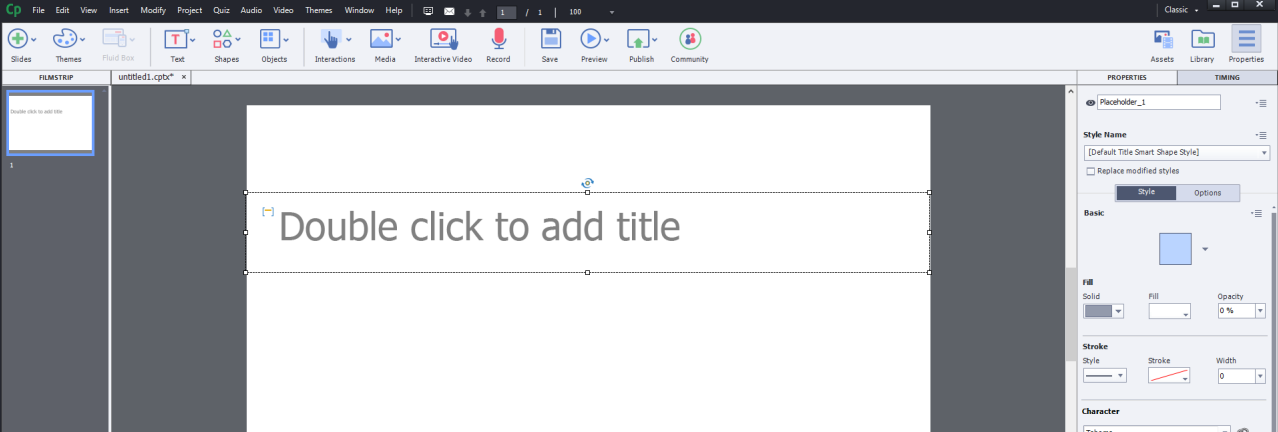
Adobe Captivate
This is also the big player in the elearning market. Captivate allows you to create responsive and non-responsive elearning content as well as VR content and provides great tools for screen recording.
Trivantis Lectora
This tool allows you to build more advanced content and also provides the option to create responsive and non-responsive courses.
There are other excellent tools that you can use to build elearning content like iSpring, Dominknow, Adapt, GoMo, Evolve, Elucidat, etc.
Community and support
One thing to consider when choosing an authoring tool is the support and community behind it. Once you start creating courses with the chosen authoring tool, you might have a lot of questions and uncertainties, so it’s great if the tool has provided some FAQ pages or the people who use the tool are active in the community and help each other solve problems.
3. Creating elearning content with templates
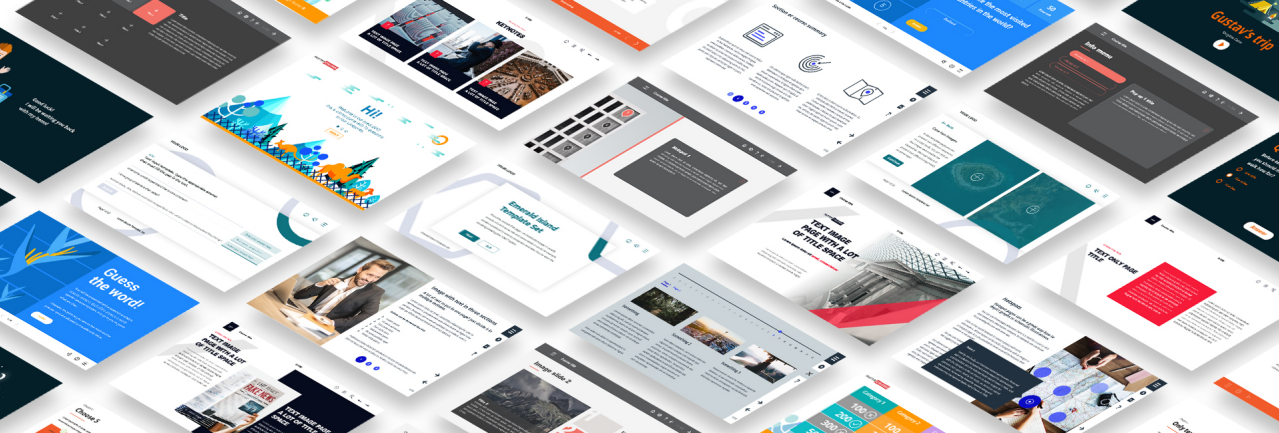
The third way how to create elearning content is by using templates. Templates allow you to focus more on the content because they are already designed by professionals and all interactions are already set. Of course, you will still need an authoring tool to use the templates, but you will be able to get started faster because all actions and triggers that are used to create interactive content will already be set for you.
You can use templates provided by template creators like us, but you can also use your own templates. We actually believe that everyone uses templates because if you have created more than one course, you will probably reuse some of the pages from previous courses to save time. Therefore, templates are great if you need to build complex pages or you want to save time by using designs that are already built.
Summary
So in order to create great elearning content, you need to be aware of all other aspects that might change the direction you need to take. Don’t be afraid to ask questions to your client and try to be as specific as possible, it will definitely pay back at the end. The better you are prepared before you start creating elearning content, the better the result will be, trust me.
Comments