Our library is filled with hundreds of templates, but have you noticed that we also have more than 25 e-learning characters? That’s right! Characters have always been a part of e-learning and we wanted to create illustrated characters that would go well with our templates. Illustrated characters are much more flexible than cut out people because you can easily customize them to your needs or brand guidelines and they will always look great. And that’s what we are here for – to make your e-learning development process as easy as possible.
In this post we wanted to show you how easy it is for you to change the colours to your new e-learning buddies and how you can customize them to match your e-learning course. Let’s start!
Step 1 – Adobe Illustrator
To be able to customize characters, you will need Adobe Illustrator. Adobe Illustrator is a part of Adobe Creative Cloud that you can get here. In this tutorial we use Adobe Illustrator CC version 22.1.
Step 2 – Pick one!
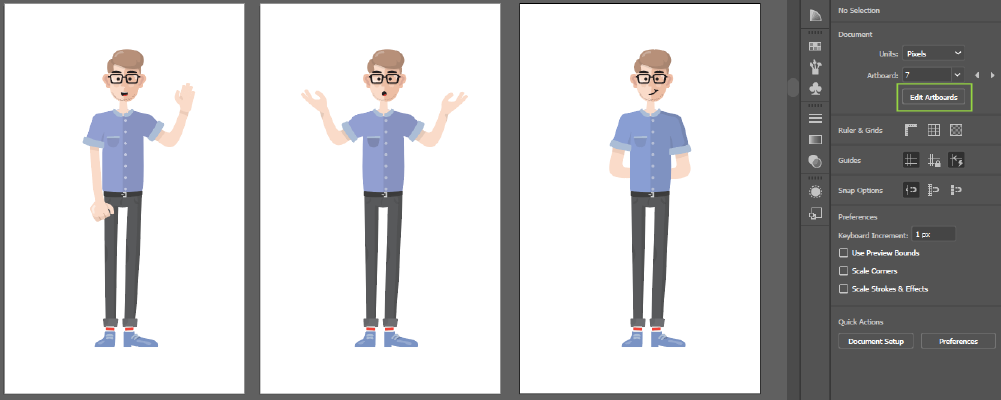
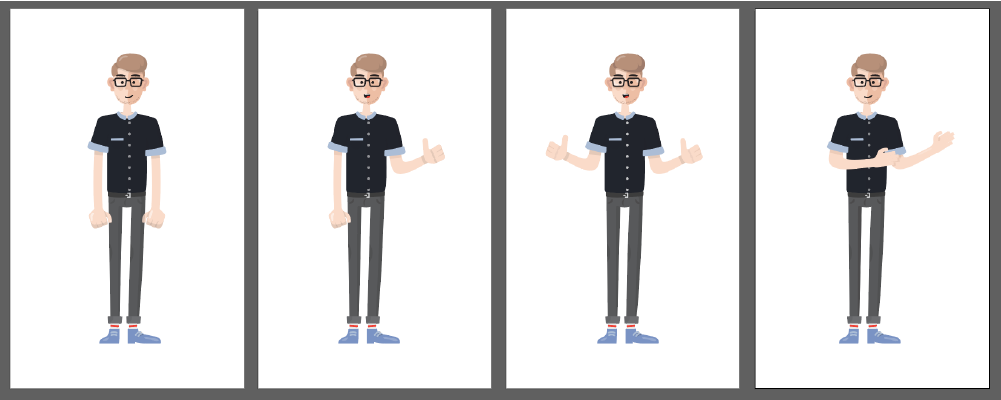
Sometimes it might be hard to pick the right character, but don’t be afraid to try something new. Characters can make a real difference and can also make the learning process more personal to the students. We picked John to be our hero for this project. John is a tall and handsome guy that will enlighten any e-learning course with his shy smile and striped socks. Choose the character that works the best for you and let’s continue!

Step 3 – Clone them!
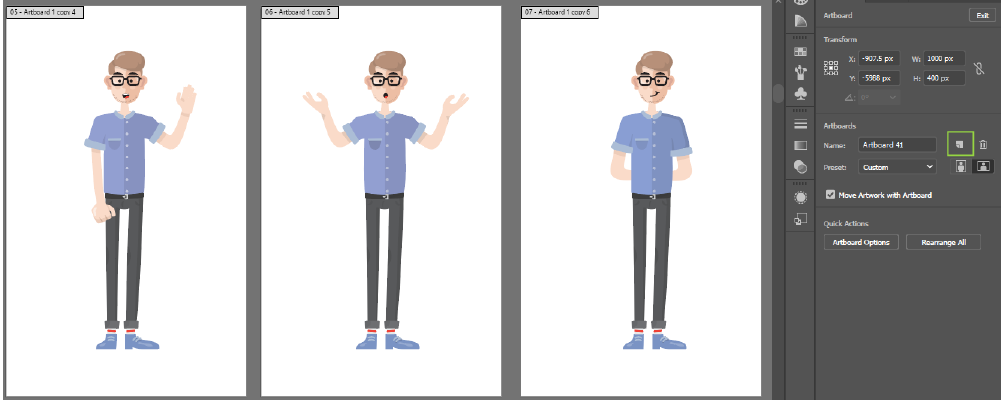
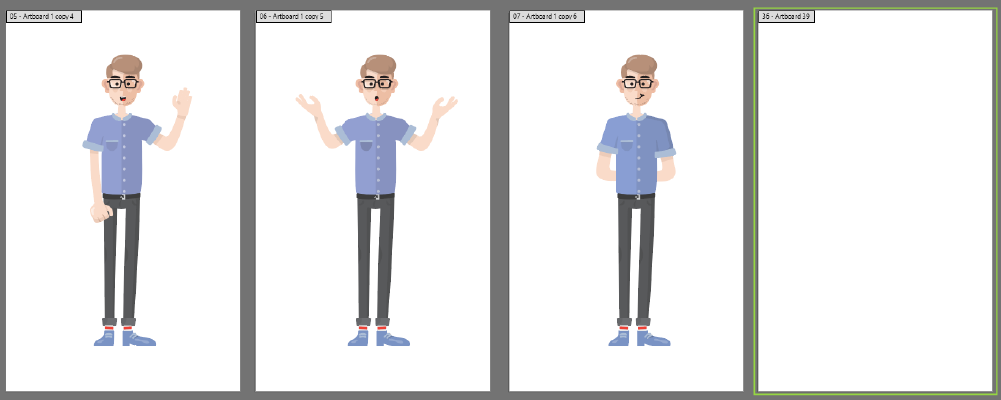
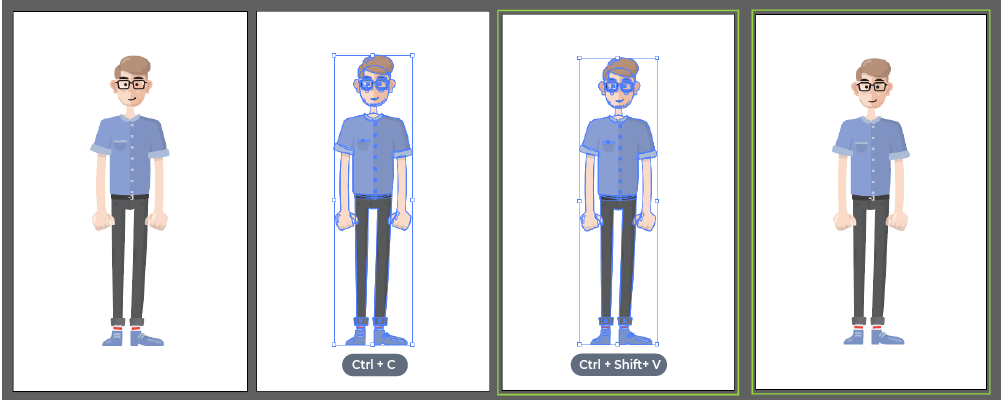
First we created a new artboard in Adobe Illustrator, so we could duplicate John and make changes without losing the original. Select Edit Artboards and click inside of one of the existing ones. By clicking the icon marked in the second image, you can duplicate them. Once you have created a new artboard, pick the character you like and select all of its details. Then press Ctrl+C and click somewhere inside the new artboard and press Ctrl+Shift+V and the new character will be placed in the exact same position as the original one. Congratulations, you have cloned a person!
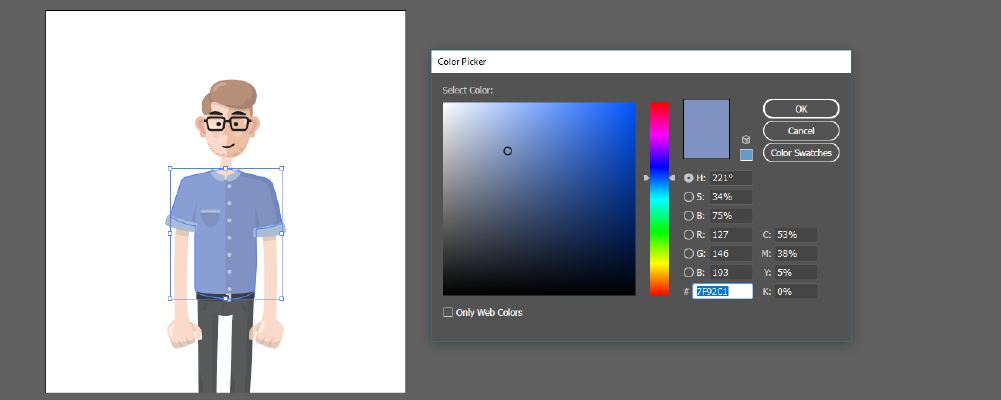
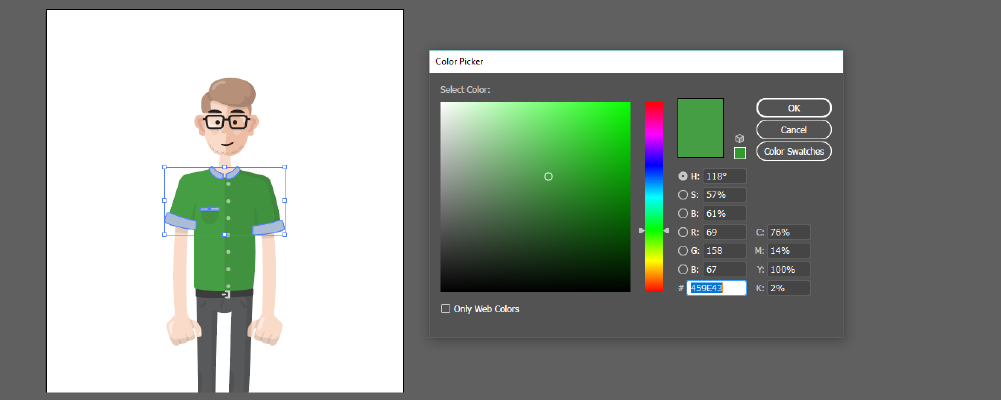
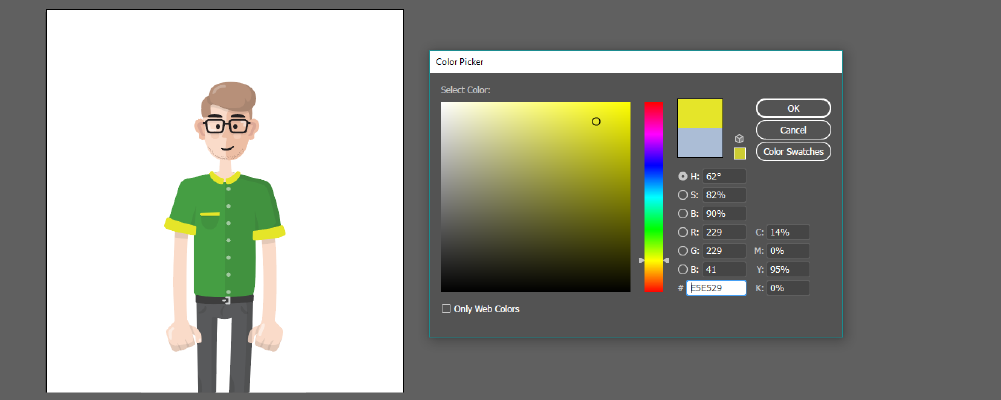
Step 4 – Colors
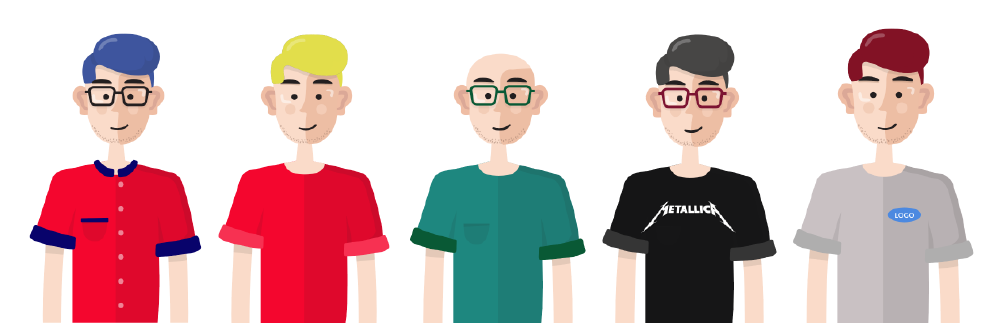
Now we can start playing! Let’s start with something simple like changing the colours of John’s clothes. Click on the shirt and a light blue frame should appear around the selected object. Now click on the fill option on the left side tool bar and open color picker. There you can simply choose any color or write a code if you already have a specific color in mind.
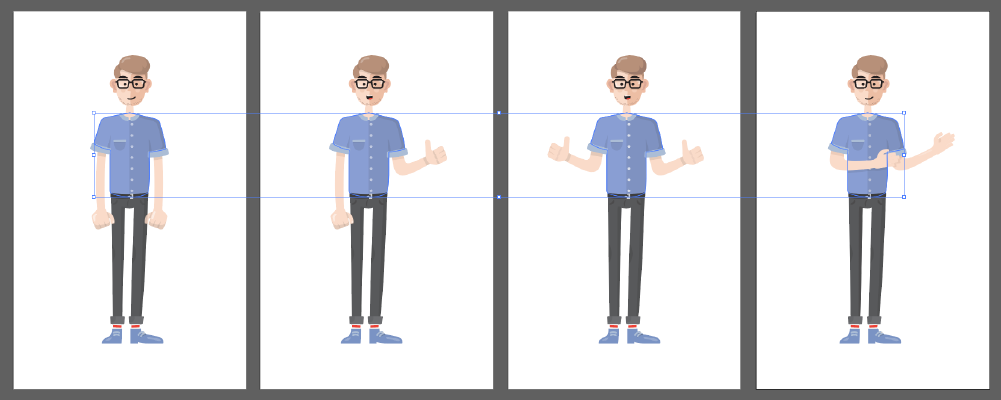
Step 5 – Change colors to multiple characters
If you are planning to use characters in your e-learning course, you probably will need a character with more than one pose or one facial expression. Let’s take a look at how you can quickly adapt all poses to match your needs. First, select the object or piece of clothing you want to recolour. Then press and hold Shift key and click on the same piece of clothing on other characters. Then, when you have selected all, choose the Fill option and change the colour like we did in the previous step. Now all of your character’s poses will have the same outfit. Easy, right?
Step 6 – Have fun!
With this tutorial we wanted to show you that you have plenty of possibilities to customize these characters. With a few simple tricks you can change their appearance completely from responsible workers to smiling rebels. Add a name tag and make them look like real employees or dye their hair pink and make your e-learning course more refreshing!
Explore all illustrated characters
Now you have met only John, but we have more than 40 illustrated characters that want to meet you. Click the button below and see all of our characters!

Comments